Setting up Selenium in Visual Studio Code on MacOs with Apple Chip M1
03 Nov 2021 | SeleniumI use MacBook Pro 2020 with chip Apple M1, and was not sure if it is compatible with Selenium, a QA automation testing tool. I also would like to use it with Visual Studio Code, a popular choice of text editior and IDE. I had to google up and this website below is the best choice to follow through.
https://funnelgarden.com/setup-selenium-with-java-on-visual-studio-code/
What do I need beforehand?
- Visual Studio Code or also known as VS Code
- Latest Java version from Oracle
- Java Extension Pack in VS Code
- Selenium WebDriver
- ChromeDriver
1) Let’s start with Visual Studio Code
I installed Visual Studio Code when I first got this laptop awhile ago, because I read that it is the best text editor to have and it is already an IDE, or integerated development environment. It allows different developer tools to work together. It debugs and does many other wondrous things.
I don’t remember exactly the steps of installing Visual Studio Code, but I think it should be simple. Click on this Visual Studio Code and scroll all way down to the bottom until you see this image:
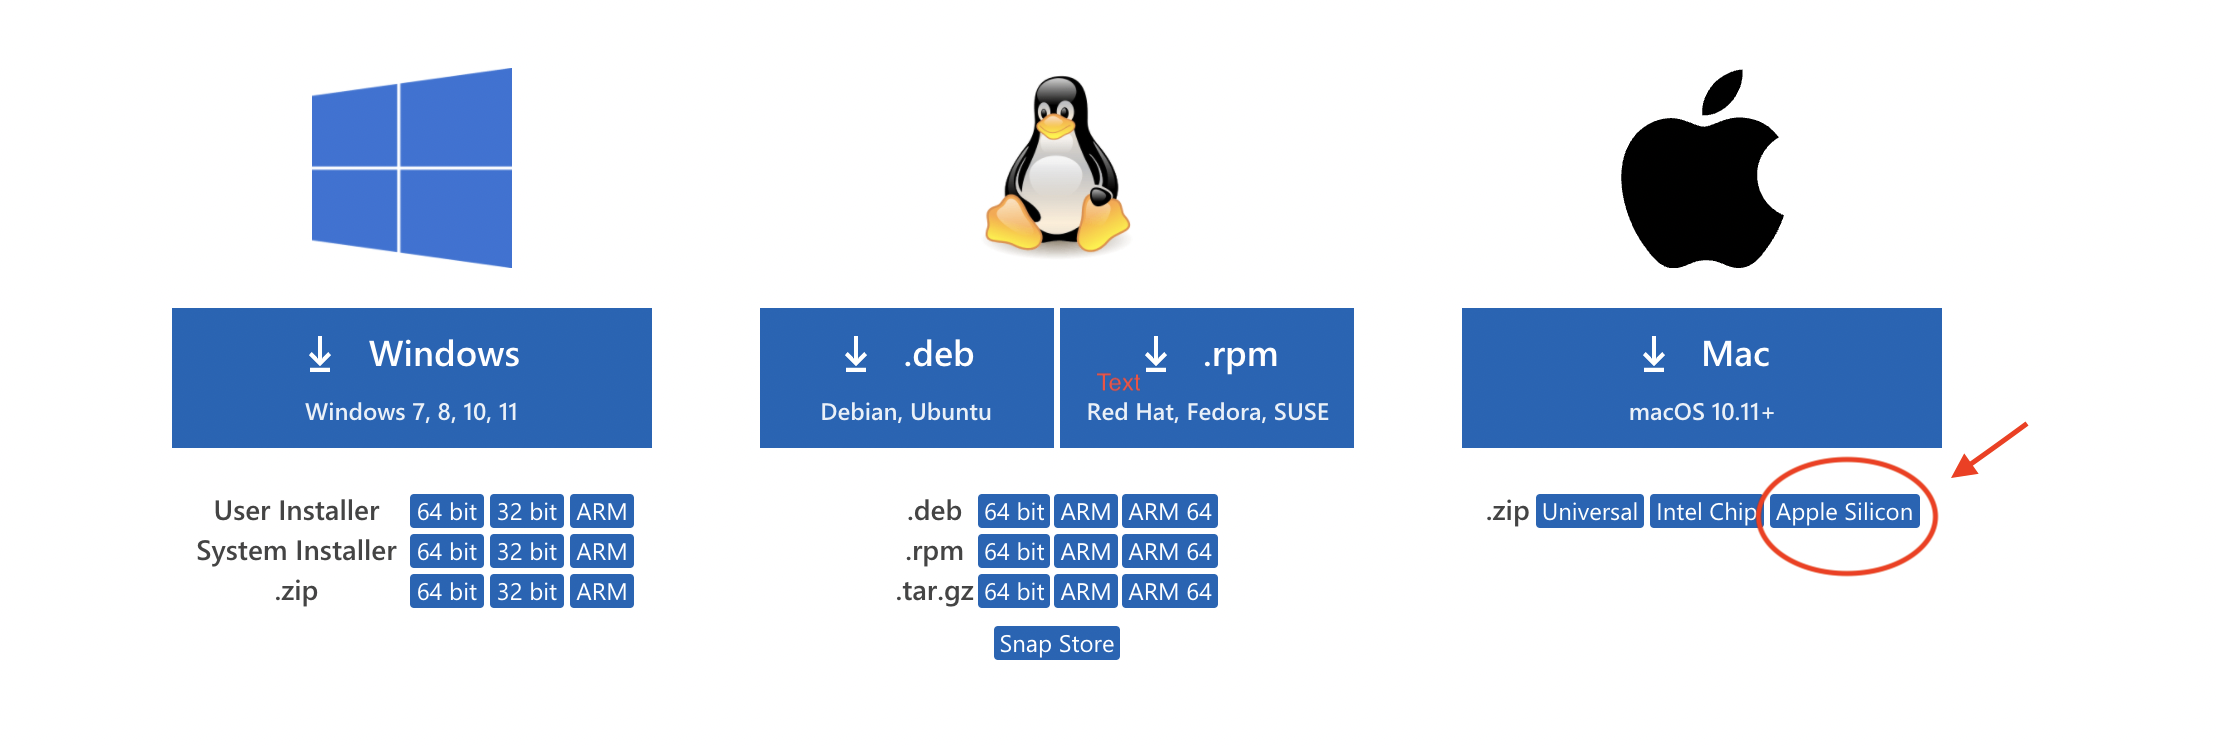
Click on Apple Silicon to install the VS Code, again this is for MacBook Pro with chip Apple M1 or what I usually see ARM 64 for different downloads.
2) The next step, download Java for MacOS M1 Chip
The thing to know, MacBook Pro with Apple M1 chip doesn’t come with Java, you could check by typing java -version in terminal. So we will need to download Java from Oracle. I created a short video clip below of how to install Java quickly. I already installed and don’t want to reinstall. Just follow through without cancelling unless you feel necessary.
After installing Java SDK, open up terminal and then type either java -version or javac -version and it should show the version. Javac is java complier. I forgot to add, it is possble to open up terminal in Visual Studio Code. I use terminals in Visual Studio Code to stay focused on whatever the projects I am working on. Visual Studio Code is changing things, more conventional.
3) Add Java Extension Pack in VS Code
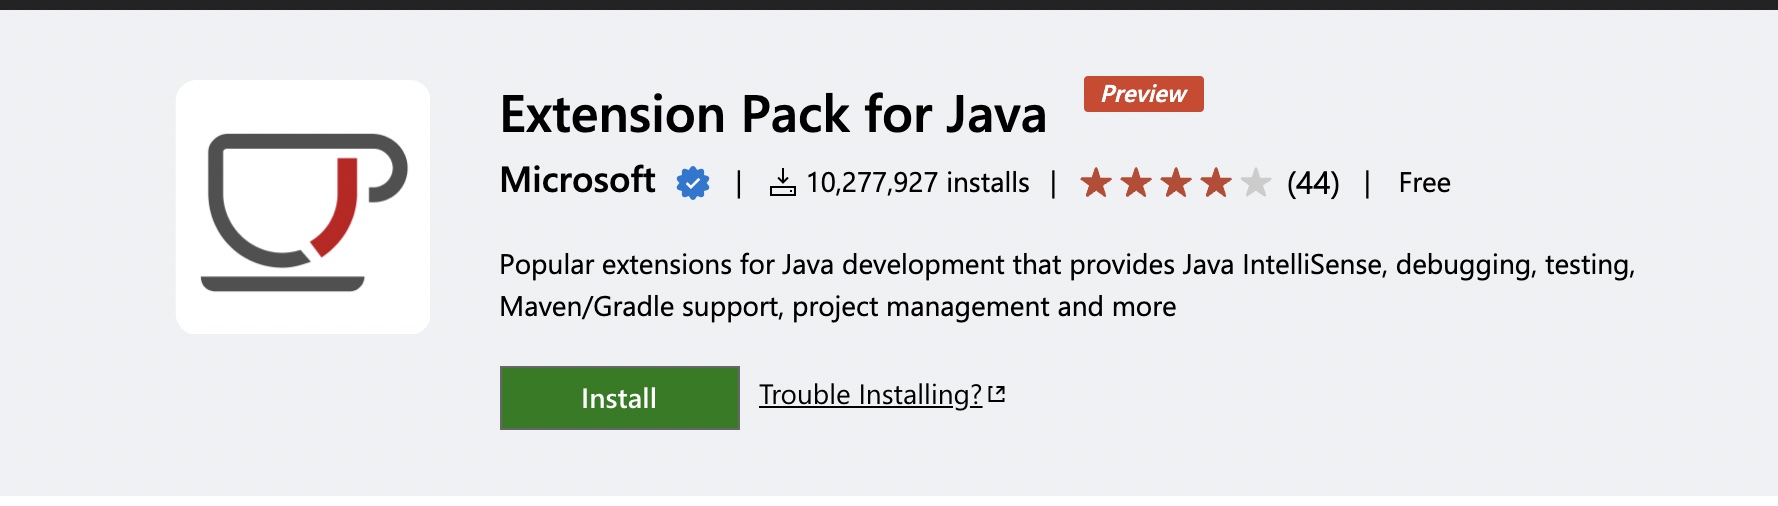
I find it easier to add the package from in VS Code application. Please check the video below on how to add an extension in Visual Studio Code application.
I am basically repeating what https://funnelgarden.com/setup-selenium-with-java-on-visual-studio-code/ suggested on doing. I would suggest to create a project folder in finder first. I created “Selenium” folder to prepare for installing all tools inside for broad use, and then specific projects will be subfolders.
Open up Visual Studio Code, click on explorer which has a icon of two files on upper left corner, and then click “Create Java Project” button on the bottom.
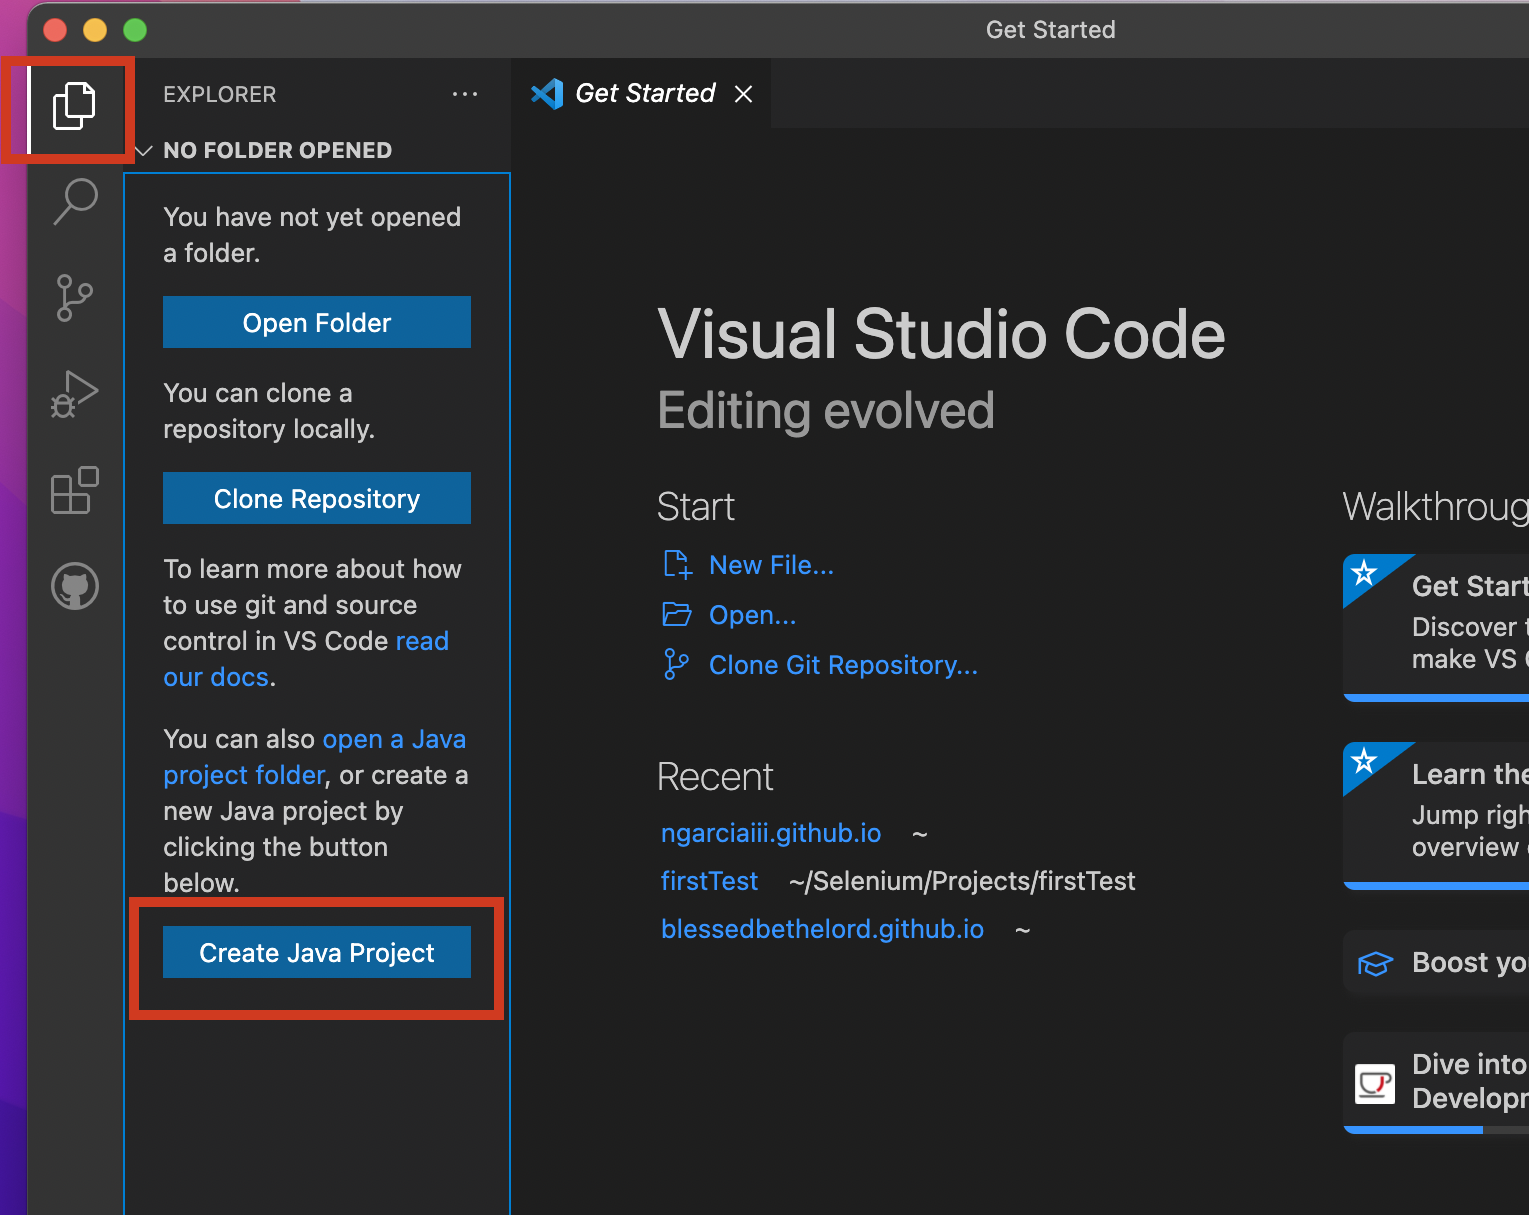
Dropdown box will ask for which project type. Pick “No build tools”. After that, it will pop up Mac’s Finder application asking where you want to place your project in. I created a subfolder “firstTest” in “Selenium” folder.

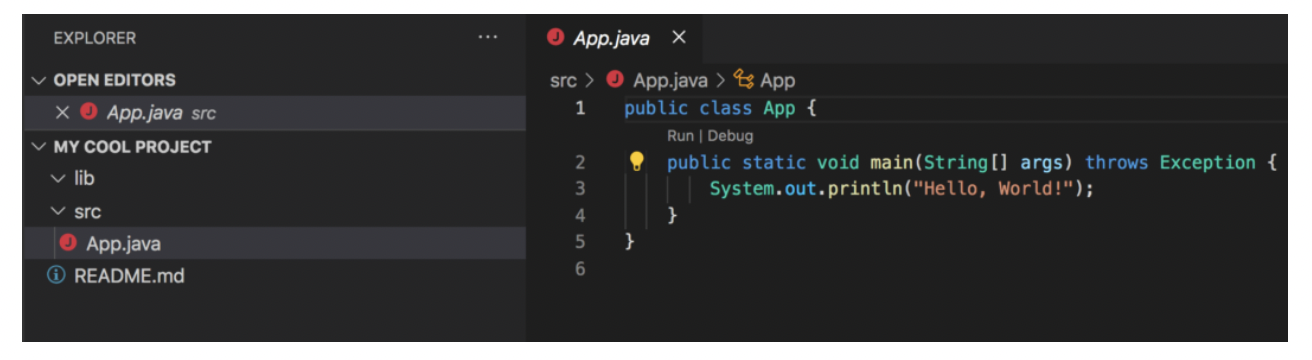
VS Code should create a new project with src folder with “Hello, World!” file and a Readme.
4) Installing Selenium WebDriver
What is Selenium? It is a QA automation tool used to test browsers and web application. Currently there’s a great demand for it. Click on this link Selenium and click on Downloads in the menu bar on the top. Scroll down to the java links and pick the stable one.
After downloading the stable zip file, open two finders. One in Downlaods folder and another where the project folder might be at. Create another folder “jars and drivers” in the project folder for. Open the zip and extract all .jars files and move over to project folder in Selenium folder.
Comments